Circle Does: Shovel Testing
As archaeologists, we spend a lot of time talking about shovel testing—it’s second nature to us. In fact, it’s such a routine part of our work that we sometimes forget it sounds a little strange to anyone outside the field. (No, we’re not just randomly digging holes for fun. Well, not only for fun.)
For us, shovel testing is a vital part of understanding the land and the impact the work will have archaeologically before any project moves forward. But for most people, it may not be something you’ll ever do.
So, what exactly do we mean when we say “we’re shovel testing”? Let’s dig into it.
Before we even step outside, our work starts on a computer (where the only thing we’re digging through is emails). Our wonderful GIS team creates detailed maps based on a variety of factors—terrain data from LiDAR or topographic maps, disturbance from satellite imagery, vegetation, water sources, and known archaeological sites—to pinpoint the best areas to test.
But once we’re in the field, it’s ultimately the well-trained crew lead (permit holder, field director, or supervisor) who makes the final call on exactly where we dig within that work area. Their decision isn’t just about following the map—it’s about reading the landscape, applying their professional experience, and making informed judgments based on the conditions in front of them. And if there’s ever any doubt, we test.
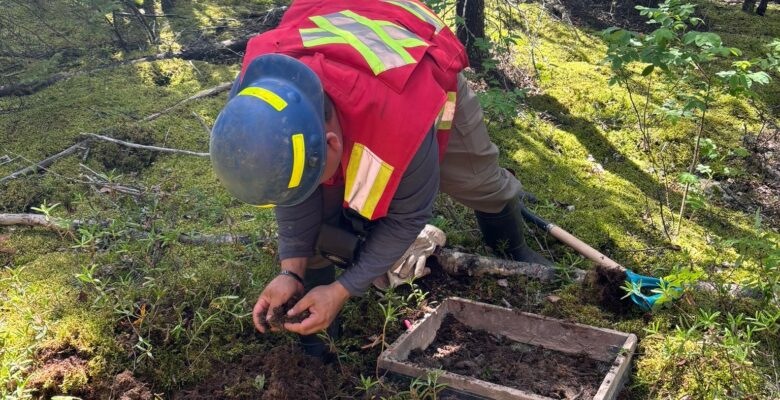
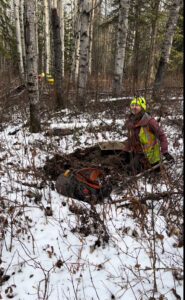
Out in the field, shovel test areas usually consist of at least 10 subsurface tests within an area the permit holder or field supervisor has identified as having high potential. While there’s no universal rulebook, field methodologies generally follow similar principles.
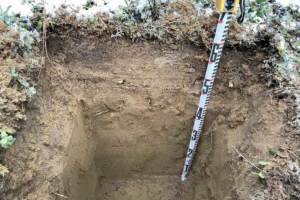
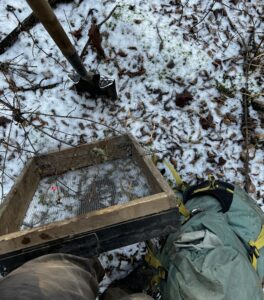
Each test involves digging below the A horizon (the uppermost soil layer, which many people refer to as top soil) and continuing down to where we believe human activity was unlikely–aka glacial or basal deposits. Every bit of soil is screened through 6 mm mesh, and stratigraphic data is carefully recorded to document soil layers.
While the standards for shovel test sizes are outlined in reports and enforced by permits, they aren’t set in stone—more like loosely agreed-upon guidelines. Some reports specify a minimum of 40 x 40 cm for test pits, while others go with 35 cm on a side. The Archaeological Survey of Alberta ultimately decides if the method used was effective before signing off on the final report.
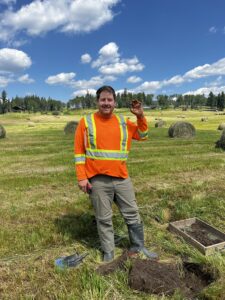
If shovel tests turn up artifacts, that means we’ve hit a positive test – and things got a lot more interesting. Once cultural material is identified, there is always a chance there’s more to find! And even if there isn’t, we still have to check–not just for due diligence, but because archaeologists can’t resist the urge to see what’s buried below.
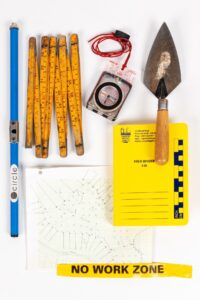
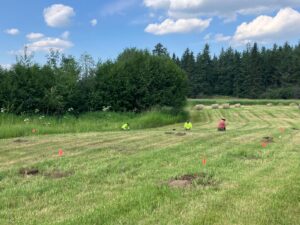
To expand the search, we use a systematic grid, placing additional tests at specific intervals (typically 3-5 m apart). As we work, we carefully map the entire area, marking each test as positive or negative, along with major landforms like slopes, hydrology, and vegetation. The map isn’t just a rough sketch– it includes a north arrow, legend, crew members’ names, and field notes, while more detailed documentation is recorded digitally on the supervisor’s iPad. Meanwhile, each positive shovel test gets its own profile, where we measure, photograph, and document its stratigraphy. This not only ensures we have a detailed record for the report but also helps us better understand the landform and the archaeological context of the area.
Each shovel test location is also logged with GPS and GIS, ensuring we know exactly where we’ve been (and don’t accidentally test the same spot twice). Any artifacts recovered are bagged and tagged for further analysis in the lab. Grid testing continues until we reach three consecutive negative tests beyond every positive test, or until we are limited by the landform or project footprint. Once the supervisor or permit holder feels that the landform has been thoroughly tested and recorded, we pack up and move on to our next project area–or, if the day is done, head back to the hotel for some well-earned rest (and maybe a shower or two).
Shovel testing is more than just a routine task—it’s a key part of how we assess a site’s archaeological potential. Whether we find artifacts or just a whole lot of dirt, each test helps us piece together the story of the landscape. But the work doesn’t stop once we put our shovels down—what happens next in the office is just as important.
Check out our previous blog post, Fieldwork to Final Report, where we dive into what happens after we come back from the field—specifically, the reporting process in the office. And if you want a sneak peek at the full journey from field to lab, our Instagram posts on lab work give a behind-the-scenes look at the process!
Written by Tyler Statz
SHARE THIS:


